Installation
This guide walks you through installing Smart Product Options and Addons on your WordPress site, from downloading the plugin to seeing it live in your admin menu.
Prerequisites
Before you begin, confirm that your environment meets these requirements:
- ✅ WordPress 5.8+ is installed and running.
- ✅ WooCommerce 6.1+ is installed and active.
- ✅ PHP 7.0+ is running on your server.
- ✅ You have Administrator access to the WordPress dashboard.
Not sure about your environment?
Check the System Requirements page for a full breakdown of server, PHP extension, and browser requirements.
Installing from ZIP
Step 1 — Download the Plugin
Download the smart-product-options-addons.zip file from your purchase confirmation email or your account area on wpanchorbay.com.
Step 2 — Upload the Plugin
- In your WordPress admin, go to Plugins → Add New Plugin.
- Click the Upload Plugin button at the top of the page.
- Click Choose File and select the
smart-product-options-addons.zipyou downloaded. - Click Install Now and wait for the upload to complete.
Step 3 — Activate the Plugin
After the installation completes, click Activate Plugin. WordPress will run Smart Product Options and Addons's activation routine, which performs the following setup automatically:
- Database Tables: Creates two custom tables —
wp_smart_product_options_addons_assignments(for assignment rules) andwp_smart_product_options_addons_inventory(for global stock pools). - Default Settings: Saves the initial plugin configuration so all settings have safe defaults.
- Demo Data: Imports a small set of example Option Groups from
assets/preloads/preloads.json, assigned globally to all products. This lets you explore the plugin immediately on any product page. - Background Tasks: Schedules WordPress cron tasks for background processing.
- Capabilities: Adds the
manage_smart_product_options_addonscapability to the Administrator role.
Demo Data on First Activation
The example Option Groups imported on first activation are fully editable. Feel free to modify, duplicate, or delete them as you learn the system. They are assigned globally so you can see them on any product page right away.
After Activation
Once activated, Smart Product Options and Addons integrates directly into your existing WordPress and WooCommerce admin menus:
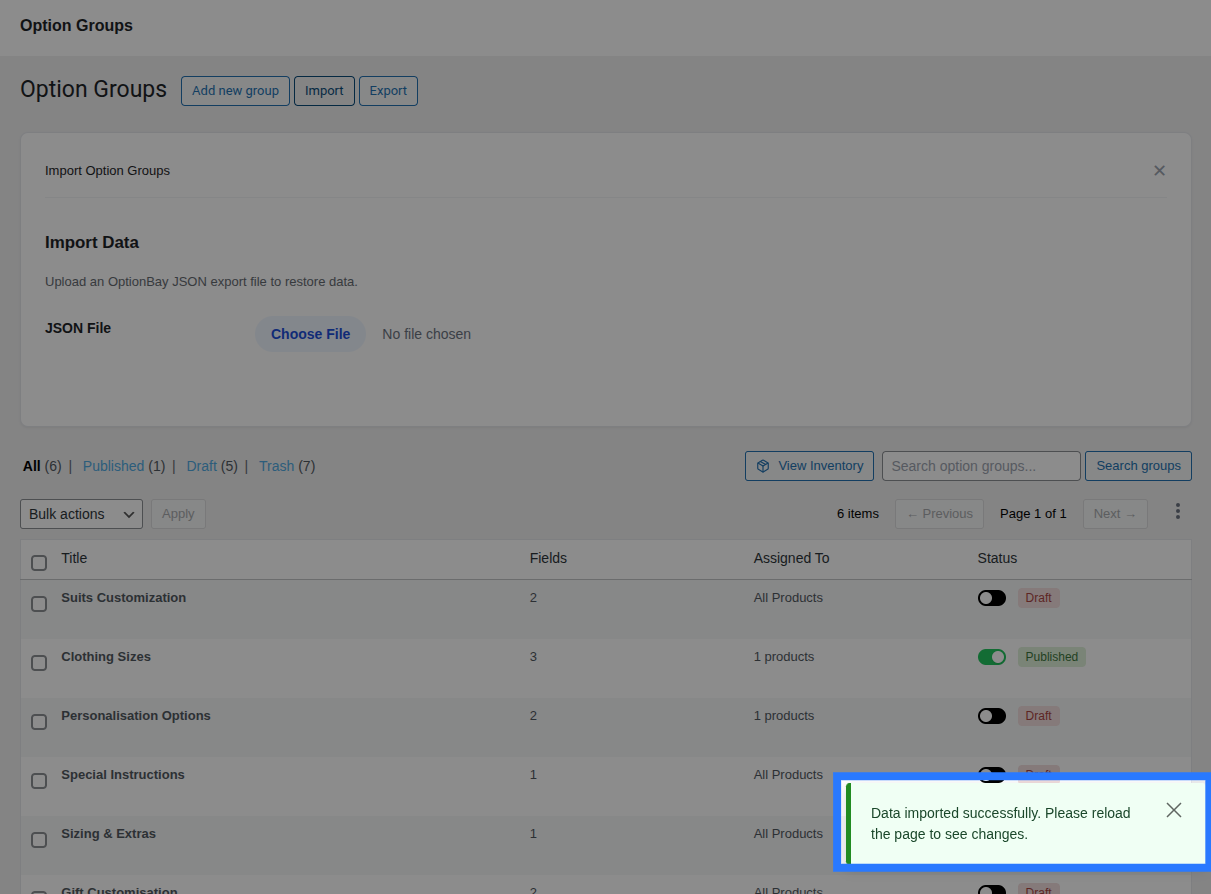
- Products → Options — The main dashboard containing the Option Groups list, Addon Builder interface, and import/export capabilities.
- WooCommerce → Settings → Products → Options — Configure plugin-wide preferences like layout orientation, font sizes, color/image swatches, debug mode, and data deletion.
- Global Inventory Modal — Managed directly inside the Products → Options page by clicking the View Inventory (📦) button.
Navigate to Products → Options to start building your first option group, or follow the Quick Start Guide for a step-by-step walkthrough.
Updating the Plugin
When a new version of Smart Product Options and Addons is available:
- Download the new
.zipfile from wpanchorbay.com. - Go to Plugins → Add New Plugin → Upload Plugin.
- Upload the new ZIP — WordPress will detect the existing version and present a Replace current with uploaded prompt.
- Click Replace and the plugin will update in place.
Your data is safe during updates — database tables are automatically migrated using WordPress's dbDelta() function, which only applies structural changes without touching your existing rows.
Backup Before Updating
While Smart Product Options and Addons's update process is safe, it's always good practice to create a full site backup before updating any plugin. Use your hosting provider's backup tool or a plugin like UpdraftPlus.
Uninstalling the Plugin
To remove Smart Product Options and Addons completely from your site:
- Go to Plugins → Installed Plugins.
- Click Deactivate next to Smart Product Options and Addons.
- Click Delete to remove the plugin files.
Data Deletion on Uninstall
By default, Smart Product Options and Addons preserves all your data when the plugin is deleted — option groups, settings, inventory items, and database tables remain intact so you can reinstall later without losing anything.
If you want all data to be permanently erased on uninstall, navigate to WooCommerce → Settings → Products → Options and enable the "Delete Data on Uninstall" option before deleting the plugin.