

Manual Placement (Blocks & Shortcodes)
By default, NotifyBay automatically places the Sales Recovery forms on your standard WooCommerce single product pages. However, modern stores often use custom landing pages, blog posts, or unique theme layouts that require more flexibility.
NotifyBay provides two professional ways to manually place your forms: Native Gutenberg Blocks and Dynamic Shortcodes.
1. Using Gutenberg Blocks
Section titled “1. Using Gutenberg Blocks”If you are using the modern WordPress Block Editor (Gutenberg), NotifyBay includes dedicated blocks that look and feel like a native part of your editing experience.
How to Add a Block:
Section titled “How to Add a Block:”- Open any Page or Post in the WordPress editor.
- Click the + (Toggle Block Inserter) button at the top left.
- Search for “NotifyBay”.
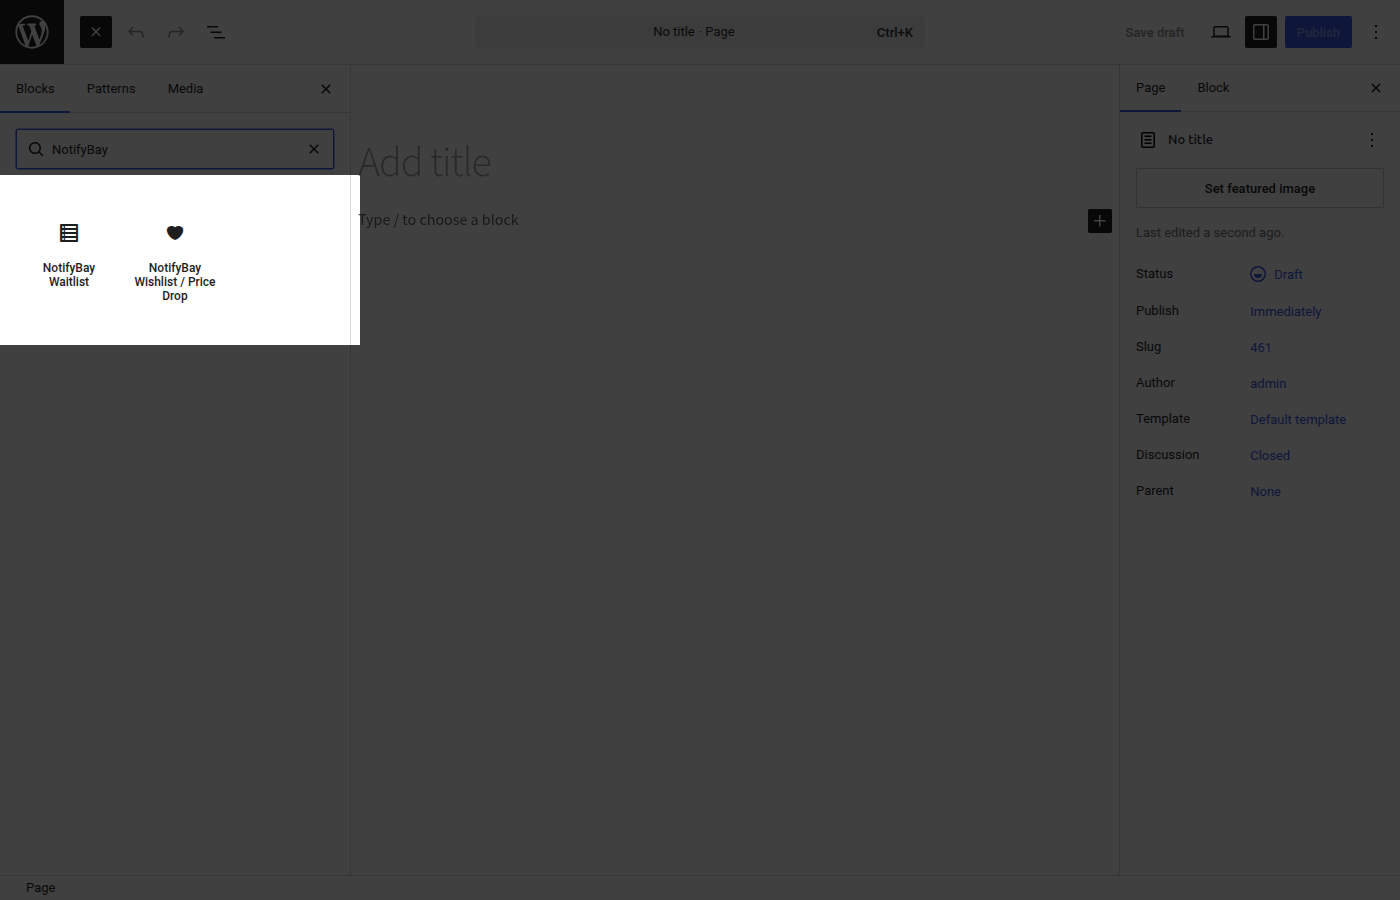
- Select the block you need:
- NotifyBay Waitlist: Adds the “Notify Me” restock form.
- NotifyBay Wishlist: Adds the “Track Price” heart/button.
Configuring the Block:
Section titled “Configuring the Block:”Once the block is placed, you can customize it using the settings sidebar on the right.
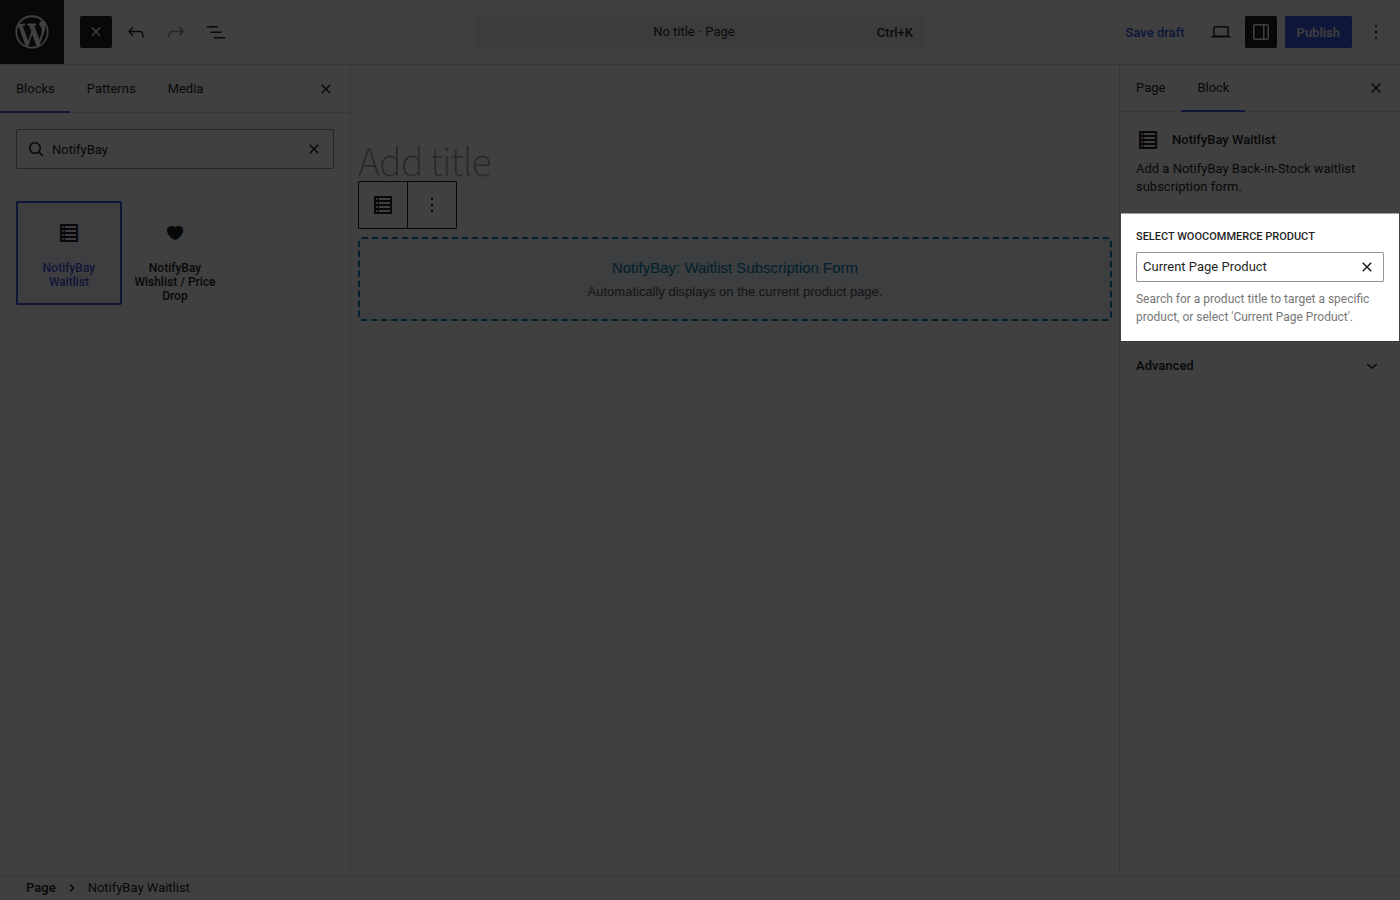
Dynamic Product Search: Instead of looking up IDs manually, you can search for a product title directly inside the block settings.
- Current Page Product: By default, the block automatically detects the product if it’s placed on a product page.
- Target Specific Product: Use the search box to find and select any product from your store to target it specifically.
2. Using Shortcodes
Section titled “2. Using Shortcodes”Shortcodes are a flexible alternative that work inside the Classic Editor, Sidebar Widgets, and popular page builders like Elementor, Divi, or Beaver Builder.
The Restock (Waitlist) Shortcode
Section titled “The Restock (Waitlist) Shortcode”Use this to display the back-in-stock subscription form:
[notifybay_waitlist]The Price Drop (Wishlist) Shortcode
Section titled “The Price Drop (Wishlist) Shortcode”Use this to display the “Track Price” or “Add to Wishlist” button:
[notifybay_wishlist]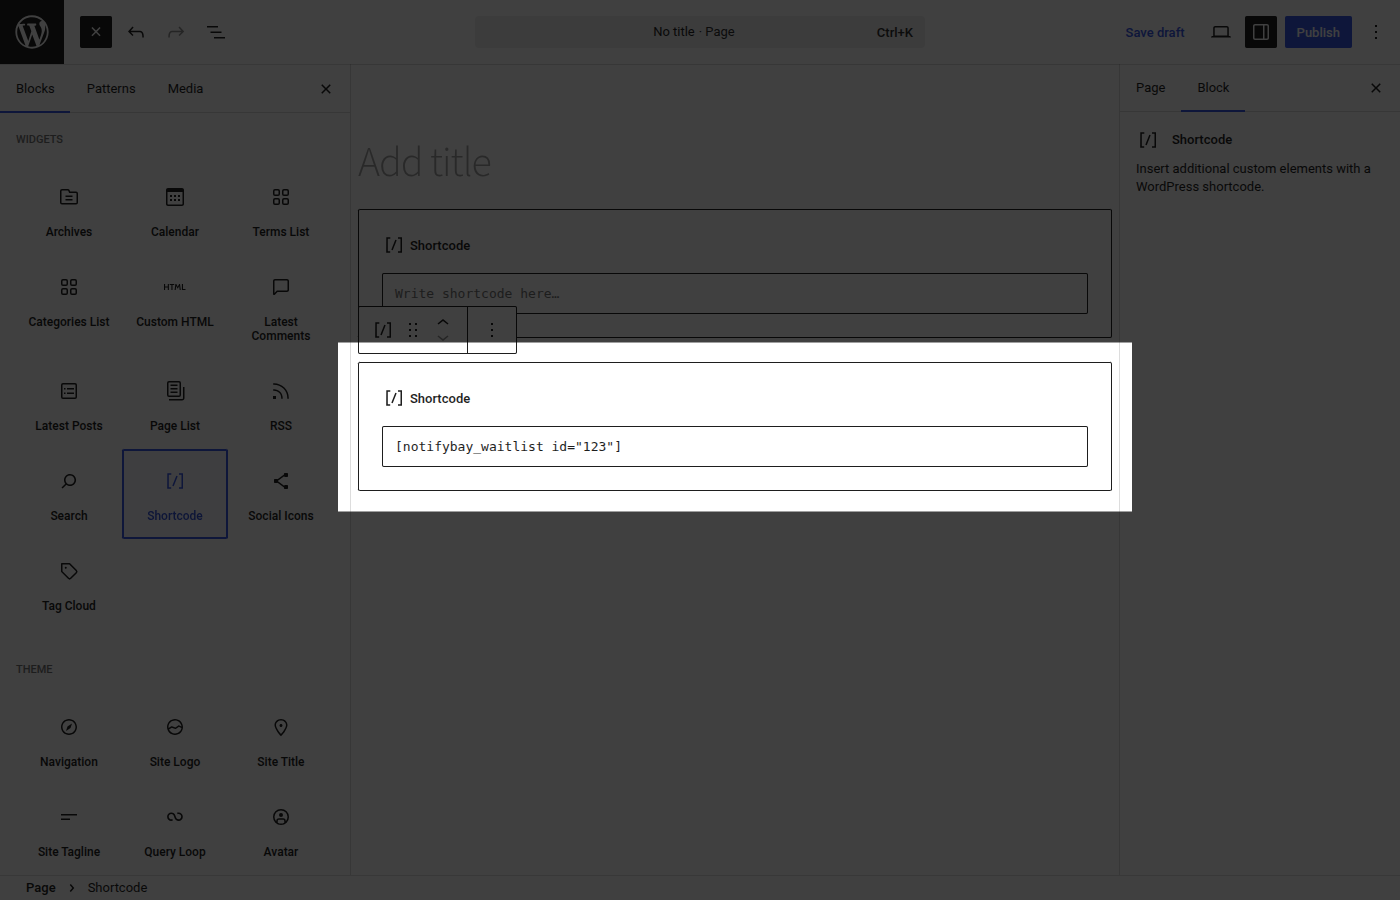
Customizing the Shortcode
Section titled “Customizing the Shortcode”If you are placing the shortcode on a page that isn’t the product itself, you must tell the shortcode which product to watch using the id attribute.
Example: To show a waitlist form for Product #123 on your homepage:
[notifybay_waitlist id="123"]Finding Your Product ID
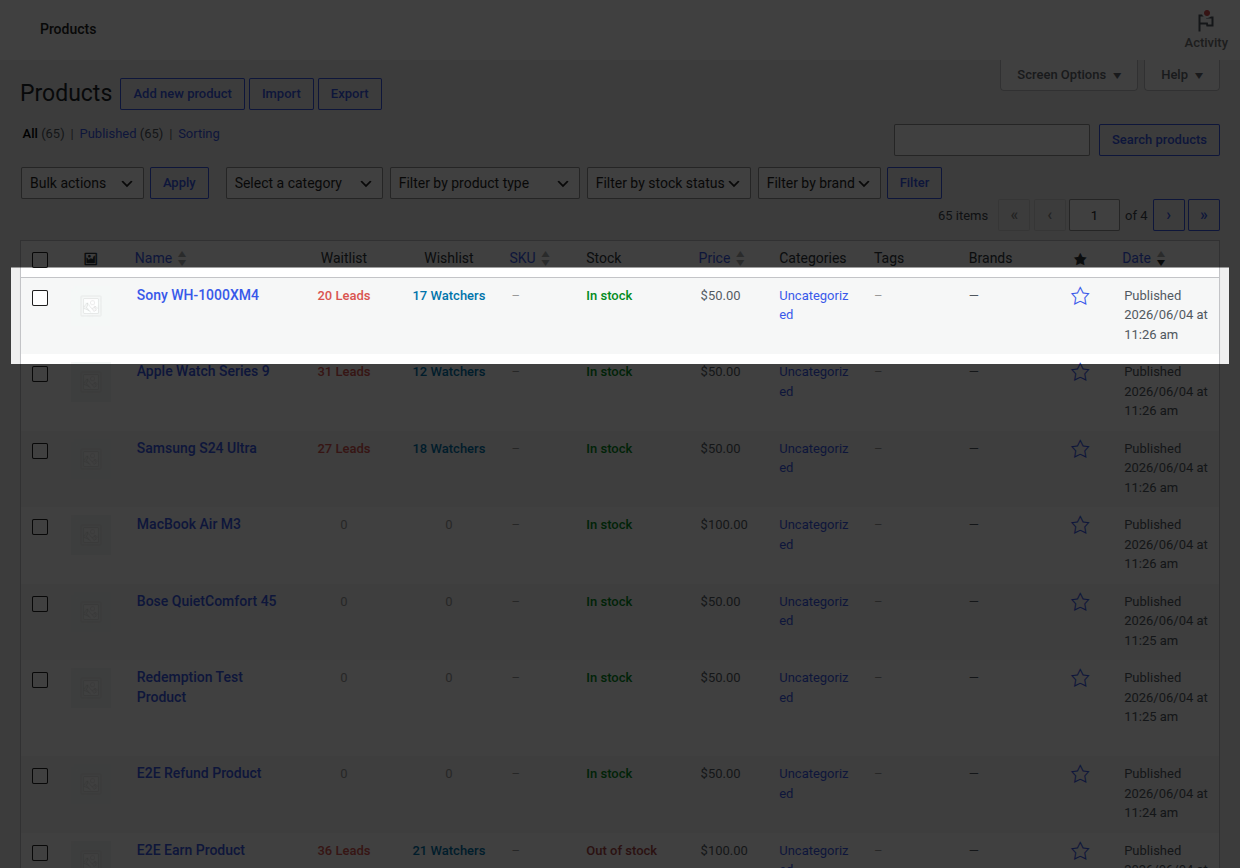
Section titled “Finding Your Product ID”You will need the Product ID whenever you are using Shortcodes on a non-product page.
- In your WordPress dashboard, go to Products > All Products.
- Hover your mouse over the title of the product you want to track.
- The ID will appear in small gray text immediately below the title (e.g.,
ID: 123).
Summary: Which Method is Best?
Section titled “Summary: Which Method is Best?”| Placement Need | Recommended Method | Why? |
|---|---|---|
| Standard Pages & Posts | Gutenberg Blocks | Visual, easy to search/select products, and no code required. |
| Page Builders | Shortcodes | Best compatibility with Elementor, Divi, etc. |
| Sidebar Widgets | Shortcodes | Works perfectly inside “Text” or “Shortcode” widgets. |
| Custom Theme Code | PHP Function | Developers can use echo do_shortcode('[notifybay_waitlist]');. |
[!TIP] After manually placing a form, always visit the page as a guest (Incognito mode) to ensure the button or form renders exactly as you intended.