Campaign Type: Scheduled Discount
A Scheduled Discount is the most common and straightforward type of campaign. It allows you to apply a direct price reduction (either a fixed amount or a percentage) to products for a specific, pre-defined period.
This is the perfect tool for running classic sales events like:
- Weekend Flash Sales
- Holiday Promotions (e.g., Black Friday, New Year's)
- Seasonal or End-of-Season Clearance Sales
This guide will walk you through creating a Scheduled Discount step by step.
Step 1: Select Your Campaign Type
To begin, navigate to CampaignBay → Add Campaign.
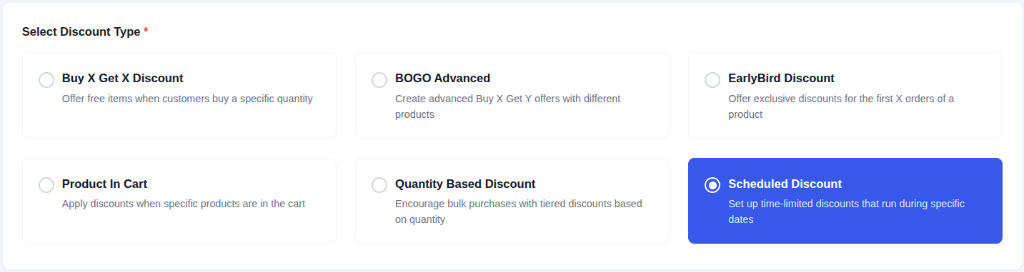
- Select Discount Type: Choose
Scheduled Discountfrom the list. This configures the campaign to apply a simple, direct price reduction.

- Campaign Title: Give your campaign a clear and descriptive name (e.g., "Summer Weekend Sale").

- Select Status:
- Active: The campaign will be live as soon as its start time is reached.
- Inactive: The campaign will be saved as a draft.
TIP
For scheduled campaigns, set the Status to Active and enable the schedule. The system will display a Scheduled label in the campaign list until the start time is reached.
Step 2: Set the Discount Target
This crucial step defines which products in your store are eligible for the discount.
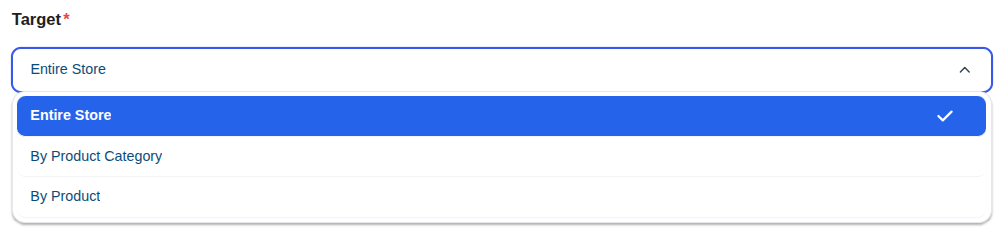
The DISCOUNT TARGET dropdown provides powerful options to control the scope of your campaign, such as applying it to the entire store, specific products, or categories.
Learn More About Targeting
The "Discount Target" setting is a powerful feature shared by all campaign types. We've created a dedicated guide to explain all of its options and conditional fields in detail.
Step 3: Define the Discount Value
This is where you set the actual discount amount the customer will receive.
1. Percentage Discount

- Percentage %: Select this mode and enter the numeric value (e.g.,
40) to take a percentage off the product's price.
2. Fixed Amount Discount

- Fixed ($) per Item: Select this mode and enter the numeric value to deduct a fixed currency amount from each individual item.
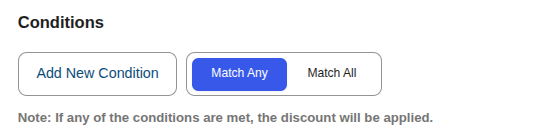
Step 4: Set Conditions (Optional)
You can add specific rules to restrict who can use this discount (e.g., specific User Roles).
Read the Full Guide: How to Use Conditions →
Step 5: Set Other Configurations (Optional)
This section provides additional rules for your campaign.

- Exclude Sale Items: Check this box if you do not want this campaign's discount to apply to products that are already on sale in WooCommerce. This is useful for preventing "double discounting."

- Enable Usage Limit: Check this box to set a maximum number of times this campaign can be used across your entire store. Once the limit is reached, the campaign will automatically become inactive.
Step 6: Set the Schedule (Optional)
You can optionally schedule your campaign to run during a specific time window. This section controls when your campaign will automatically start and end.
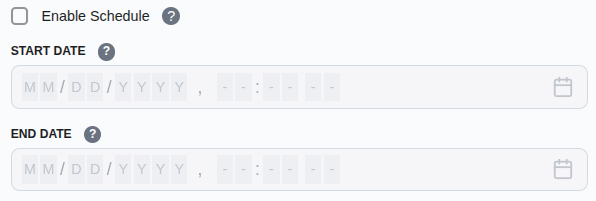
- Start Time / End Time: Use the date and time pickers to set the exact moment for the campaign to activate and expire.
Timezone Information
All dates and times are based on the timezone you have configured in your main WordPress settings under Settings → General → Timezone. The system automatically handles all UTC conversions for you.
Learn More About Automation
The status of your campaign is closely tied to the scheduling system, which uses WordPress Cron to automate activation and expiration.
Step 7: Display Configurations
This section controls how the offer is communicated to the customer, both on the product page and in their cart.

- Display as Regular Price: If checked, the discounted price will be shown as the regular price on the product page, rather than showing a "sale" price with a strikethrough.

- Show Product Page Promotional Message: Toggle this to enable or disable the custom message on the product pages.
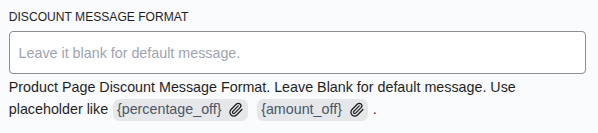
Product Page Discount Message Format: Customize the promotional text using placeholders like
{percentage_off}or{amount_off}.- Example:
Flash Sale! Get {percentage_off}% off today!
- Example:
Cart Page Discount Message Format: Enter a message to display on the cart page when the discount is applied.
- Example:
Discount applied: {discount_amount}
- Example:
Cart Page Message Location: Choose where the cart message should appear (e.g., next to the line item name).
Step 8: Save the Campaign
Once you have configured all the options, click the Save Campaign button at the top right or the Save Changes button at the bottom of the page. After saving, you will be redirected back to the "All Campaigns" list, where you can see your new campaign.
Next Steps
Now that you've mastered the Scheduled Discount, learn how to create campaigns that reward customers for buying in bulk.