

Installation & License Activation
LoyaltyBay Pro is a premium WooCommerce plugin distributed exclusively through the official website. It is not available in the WordPress.org plugin directory. This guide explains how to install the plugin, verify requirements, and activate your pro license.
System Requirements
Section titled “System Requirements”Before installation, verify that your server meets the following requirements:
- WordPress: 6.2 or higher
- WooCommerce: 8.0 or higher (required dependency)
- PHP: 7.0 or higher (PHP 8.0+ recommended for optimal performance)
- Database: MySQL 5.6+ or MariaDB 10.1+ with InnoDB engine support.
[!CAUTION] InnoDB Engine Requirement: The
{prefix}_loyaltybay_ledger_cachetable utilizes InnoDB’s row-level locking (SELECT ... FOR UPDATE) during checkout processing. If your database uses the MyISAM engine, table-level locks will occur instead, which will fail to prevent race conditions and can cause database deadlocks at checkout.
Installation Steps
Section titled “Installation Steps”Method 1: WordPress Admin Upload (Recommended)
Section titled “Method 1: WordPress Admin Upload (Recommended)”-
Log in to your LoyaltyBay Account Dashboard where you purchased the plugin.
-
Download the latest release
.ziparchive of the plugin to your computer. -
Log in to your WordPress dashboard as an administrator.
-
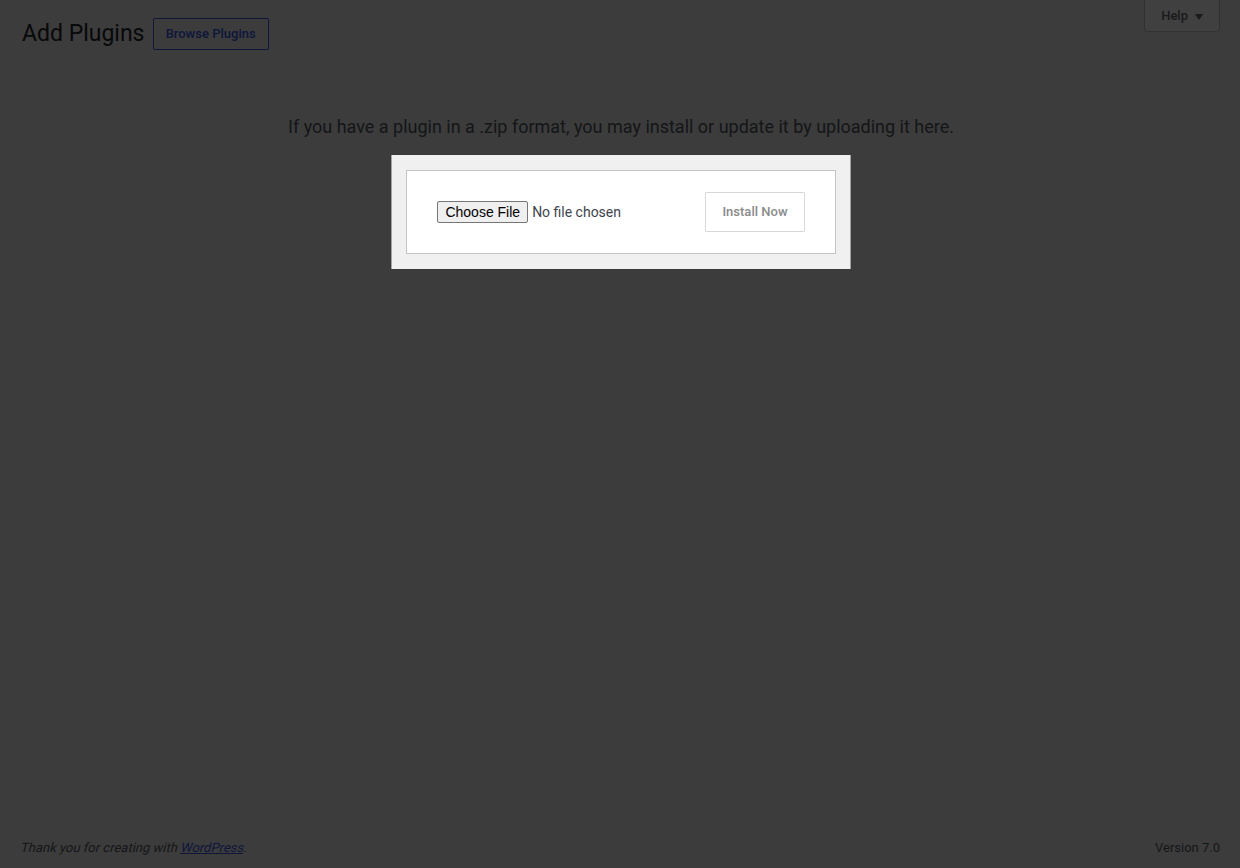
Navigate to Plugins > Add New and click the Upload Plugin button at the top of the page.
-
Click Choose File, select the downloaded
loyaltybay.zipfile, and click Install Now. -
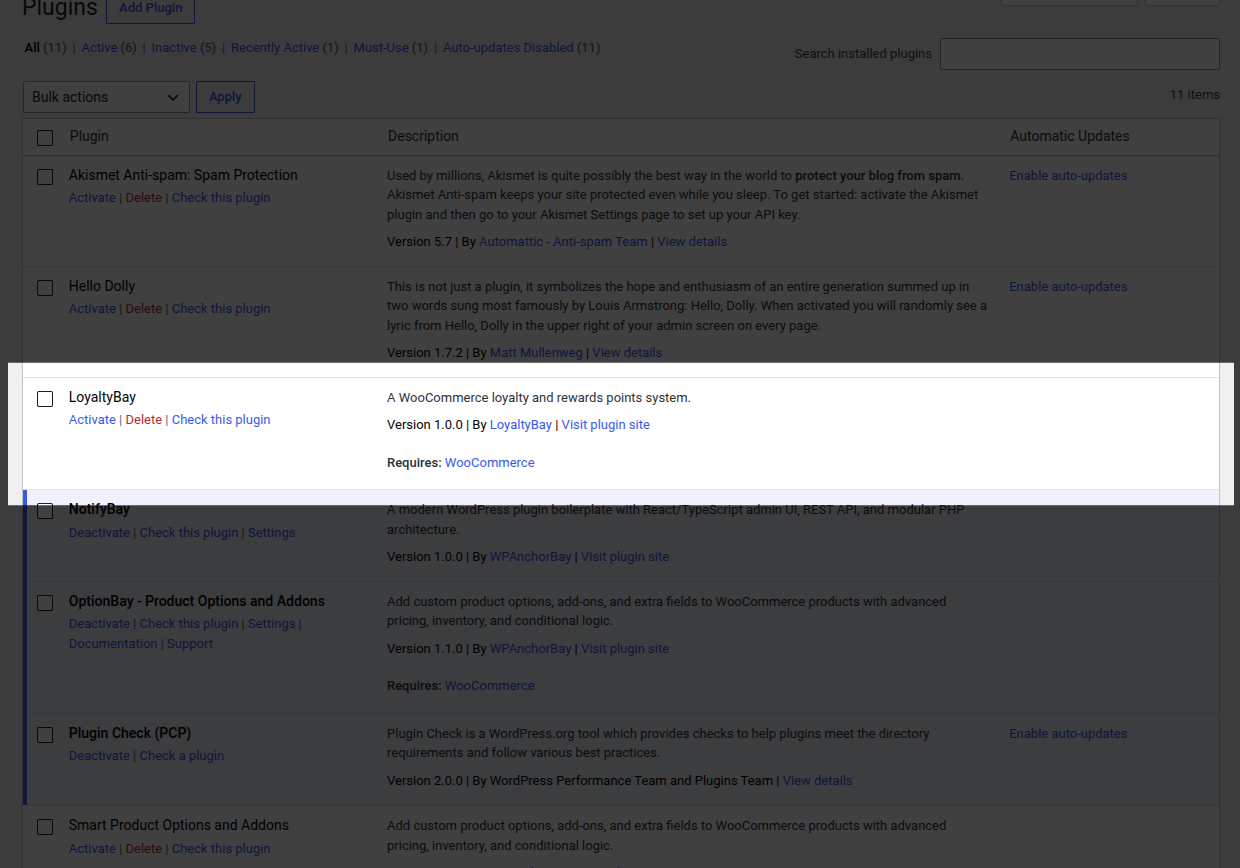
Once WordPress completes the upload and extraction, click the Activate Plugin button.
Method 2: Manual SFTP/FTP Installation
Section titled “Method 2: Manual SFTP/FTP Installation”Use this method if your server restricts web-based file uploads or has low file-upload limits:
- Extract the downloaded
loyaltybay.zipfile on your computer. This will extract a folder namedloyaltybay. - Connect to your web server using your preferred SFTP/FTP client.
- Navigate to the
/wp-content/plugins/directory of your WordPress installation. - Upload the extracted
loyaltybaydirectory there. Verify that the file permissions for the directory are set to755and files are set to644. - Log in to your WordPress admin, go to Plugins > Installed Plugins, find LoyaltyBay, and click Activate.
Post-Activation Processes
Section titled “Post-Activation Processes”Upon activation, the plugin performs the following tasks automatically:
-
Database Migration: Executes schema migrations to build three custom InnoDB tables:
{prefix}_loyaltybay_ledger— Holds point transaction rows.{prefix}_loyaltybay_ledger_cache— Caches point balances for fast lookups.{prefix}_loyaltybay_cron_log— Tracks scheduled background jobs.
-
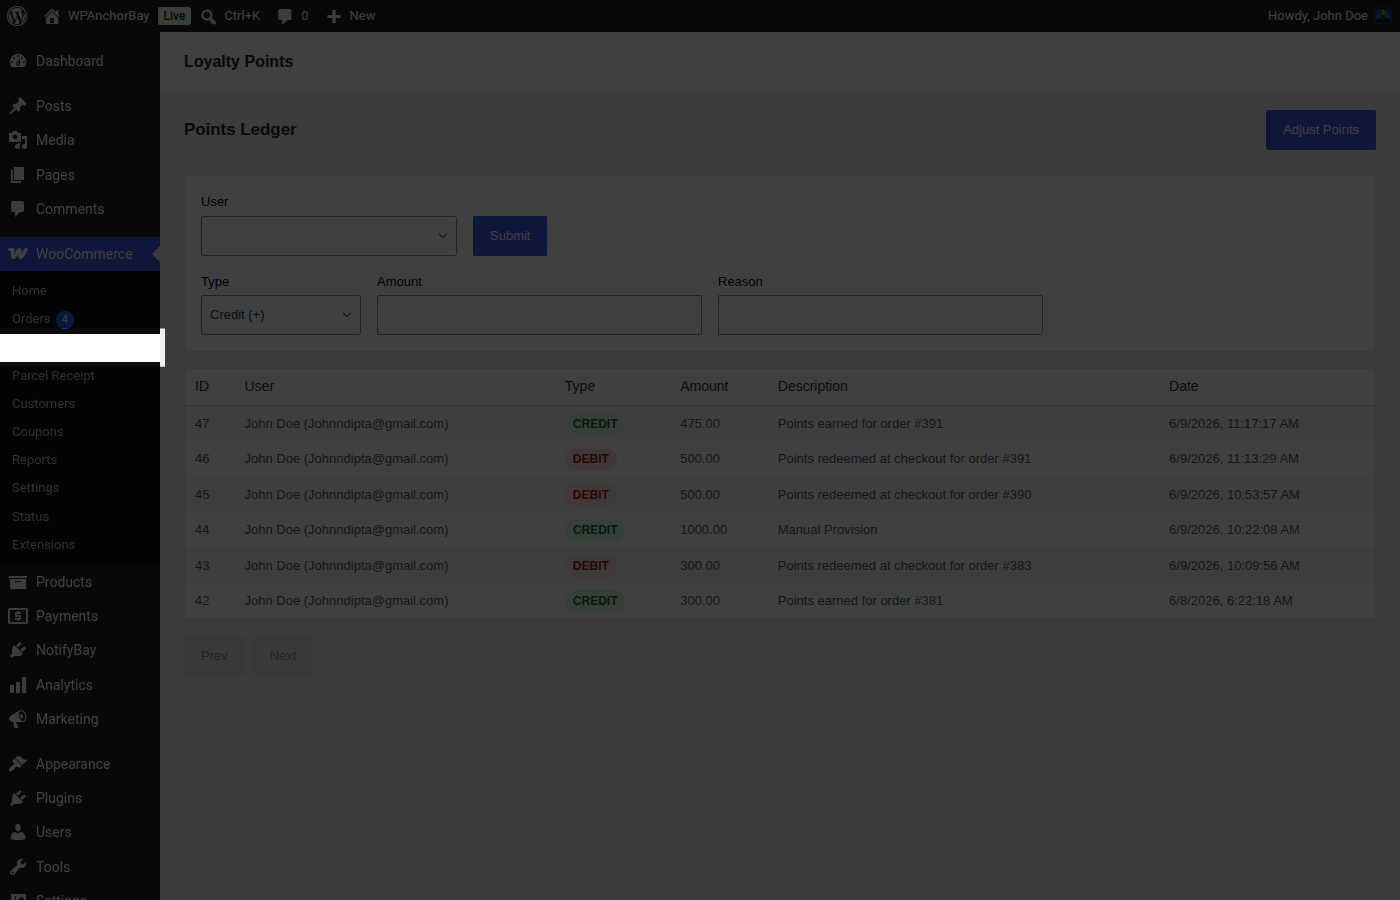
Add Menu Link: Registers the Loyalty menu item under WooCommerce.
-
Register Custom Capabilities: Adds the
manage_loyaltybaycapability to theadministratorrole. -
Rewrite Rules: Registers the
/my-account/my-rewards/endpoint and flushes WordPress rewrite rules so the customer dashboard is immediately accessible. -
Schedules Background Cron Events:
loyaltybay_cron_recalculate_tiers(daily)loyaltybay_check_expiry(daily)
License Key Activation
Section titled “License Key Activation”Since LoyaltyBay is a Pro plugin, you must input your license key to enable automated updates:
- Navigate to WooCommerce > Loyalty > Settings.
- In the Display & System section, locate the License Key field.
- Enter the license key from your purchase receipt.
- Click Save Changes. The plugin will make an API call to verify the license and enable background updates.