Getting Started
Welcome to TubeBay! This guide will help you install, connect, and start showcasing your YouTube content on your WooCommerce store in minutes.
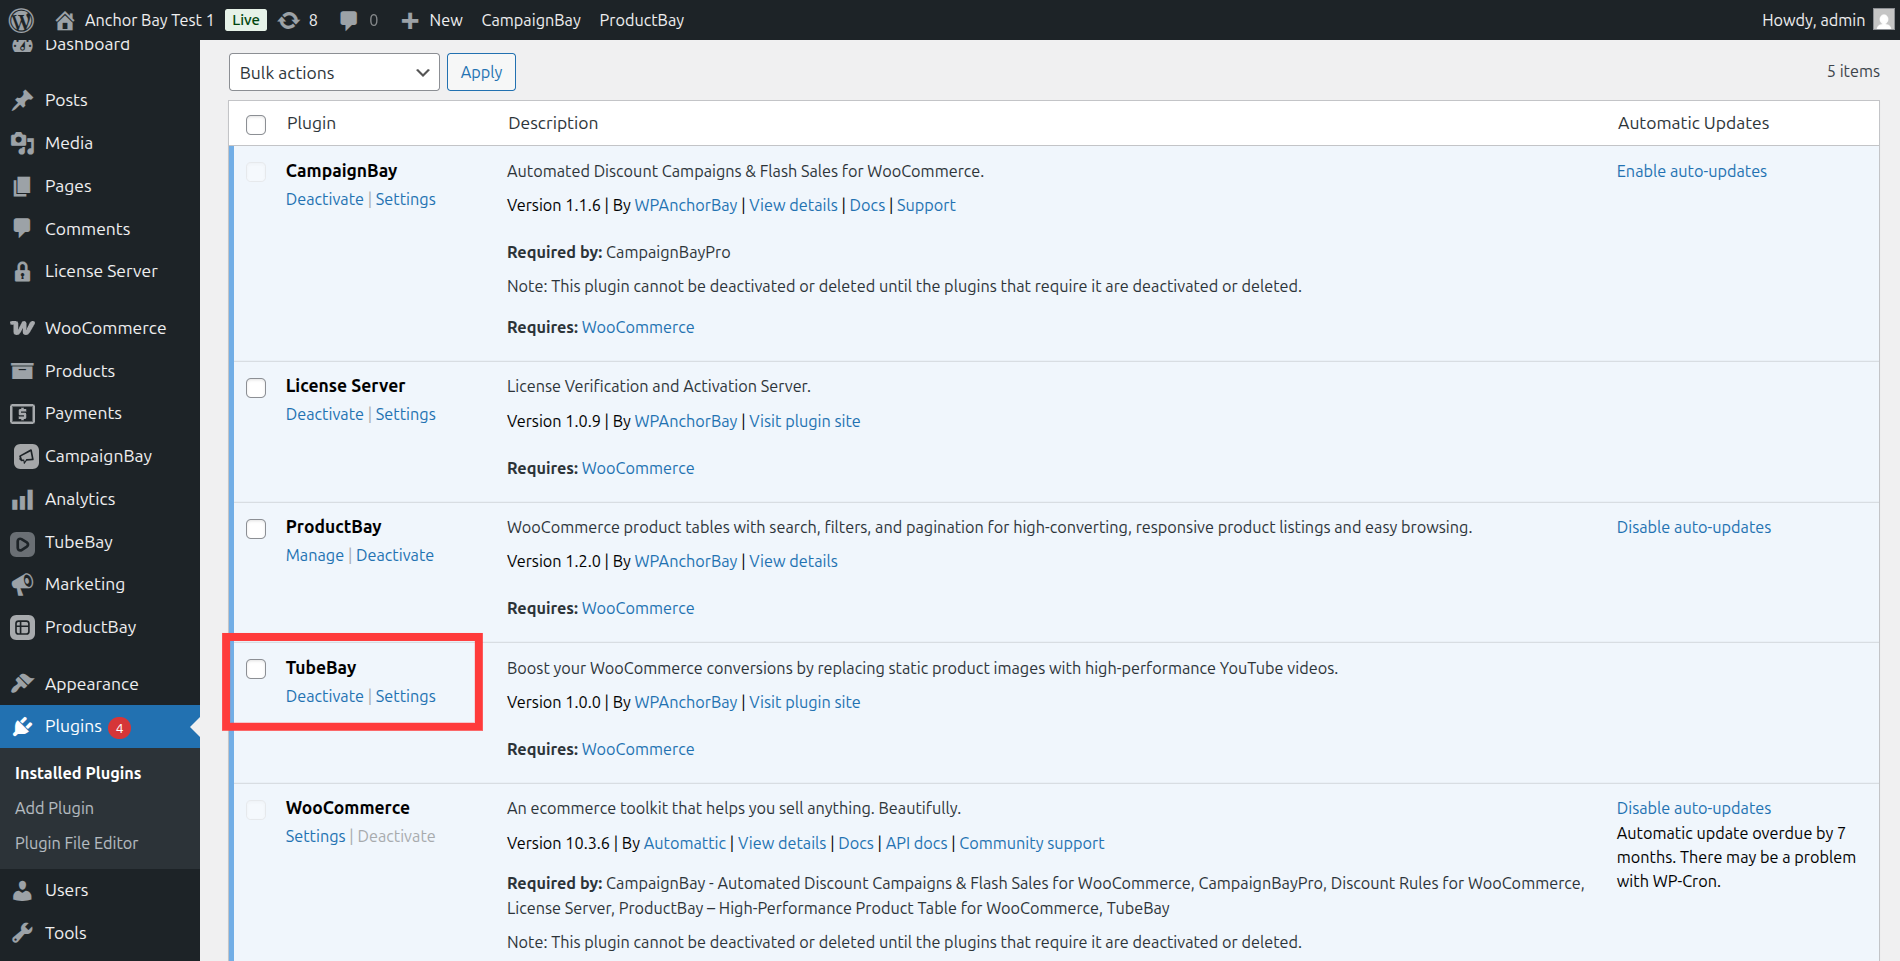
1. Installation
First, ensure you have the plugin installed and activated. You can find TubeBay under the Plugins section of your WordPress dashboard.
2. Welcome & Onboarding
Once activated, navigate to TubeBay in your WordPress sidebar. You will be greeted by the Welcome to TubeBay onboarding screen, designed to get you up and running in seconds.
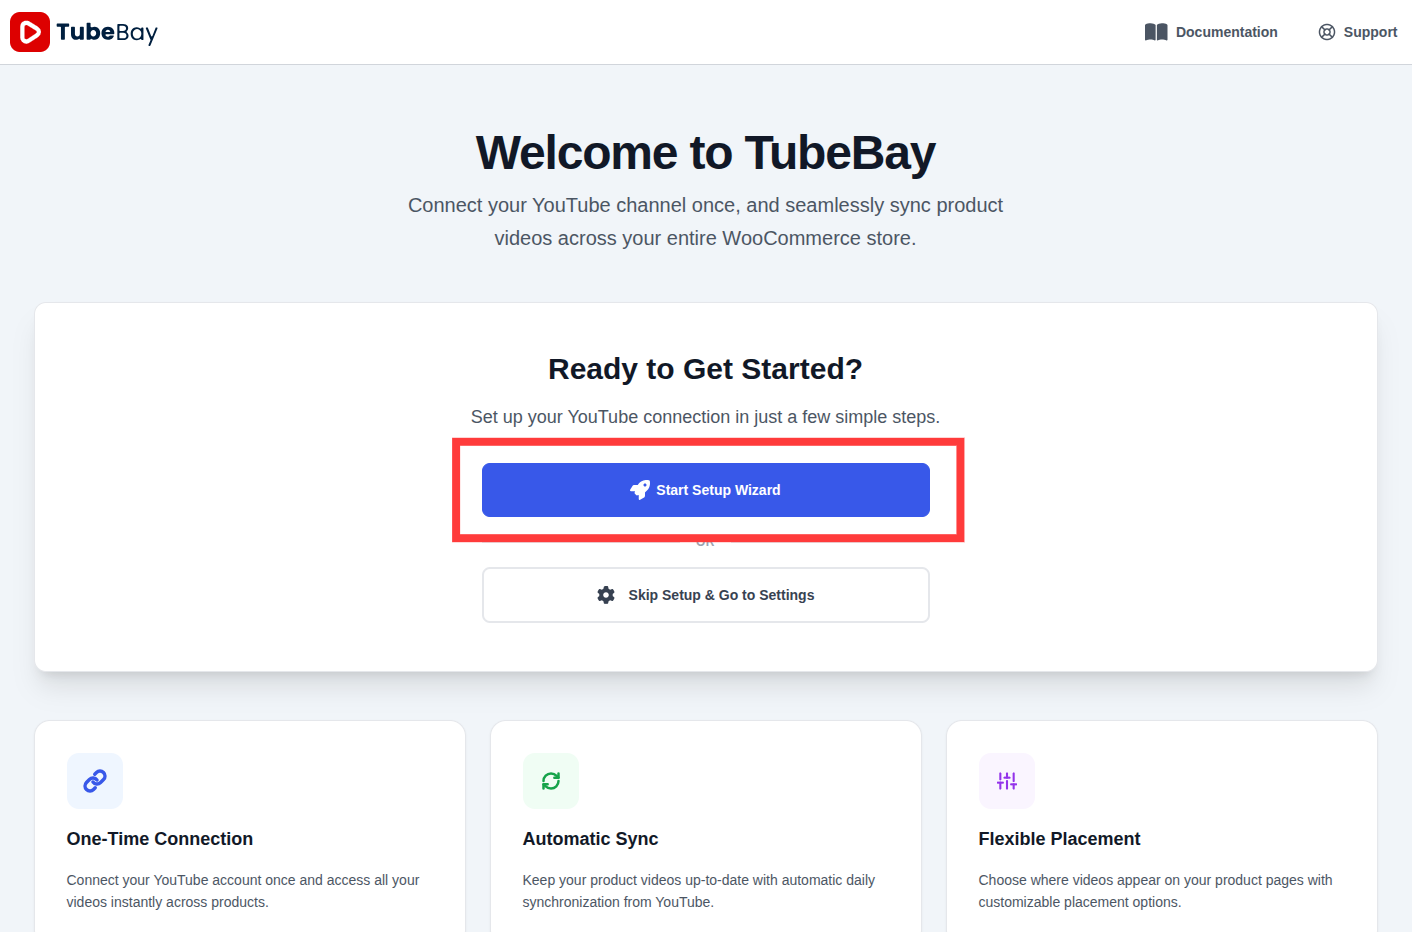
You have two choices on this screen:
- Start Setup Wizard: Recommended for most users. This will guide you through connecting your YouTube account step-by-step.
- Skip Setup & Go to Settings: Best for advanced users who want to manually configure API keys or other global settings immediately.
3. The Setup Wizard
If you choose the wizard, you will be guided through three simple steps to get TubeBay running.
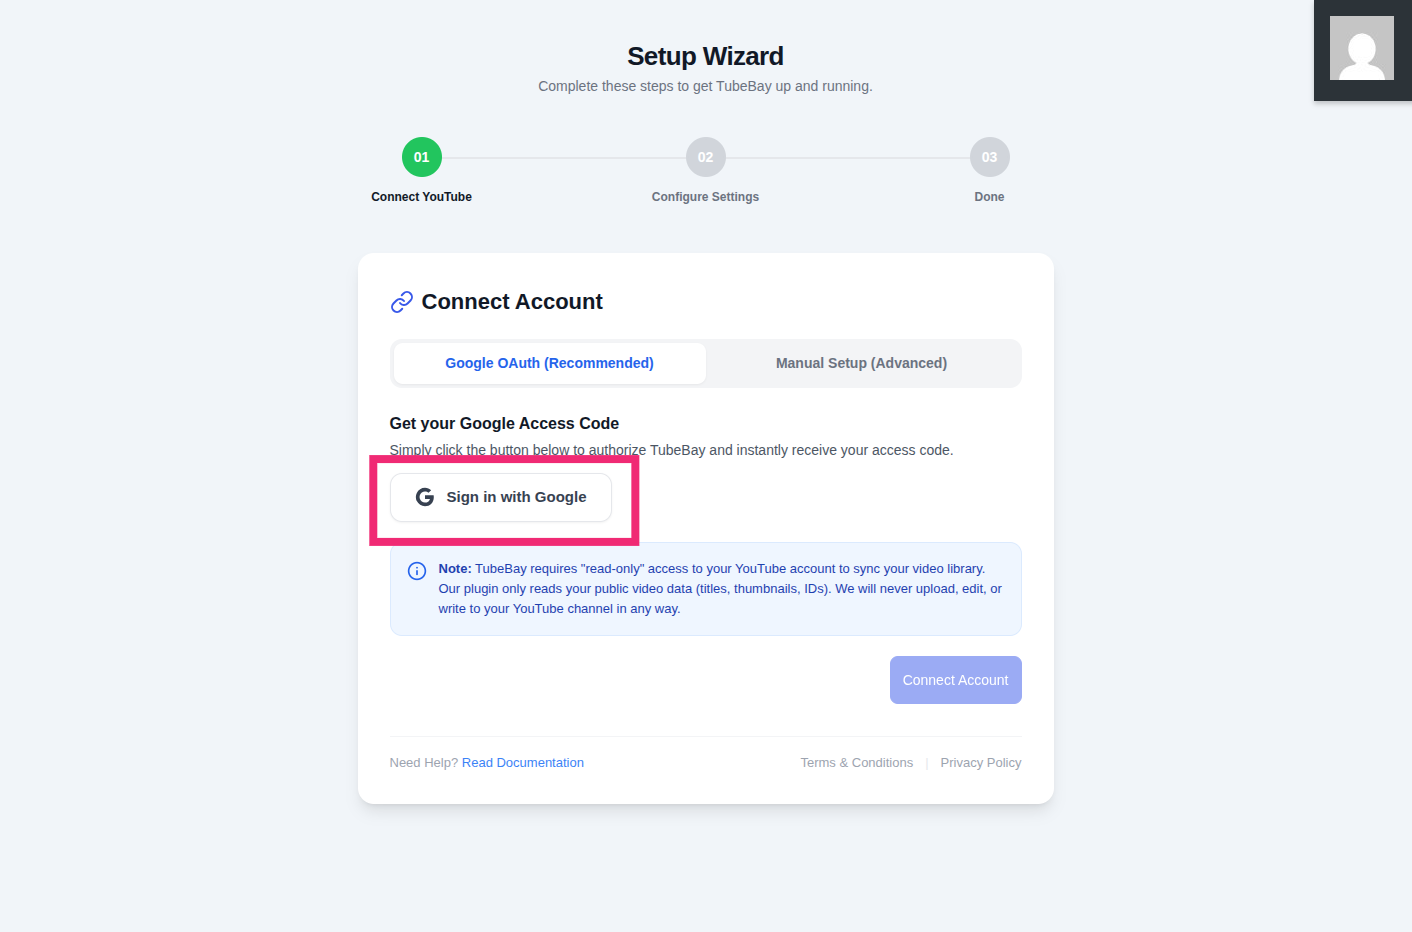
Step 1: Connect YouTube
You can choose between Google OAuth (recommended) or Manual Setup. For most users, OAuth is the easiest:
- Click the Sign in with Google button.
- A new tab will open. Authorize your account and copy the Access Code provided.
- Return to the wizard and paste the code into the Access Code field.
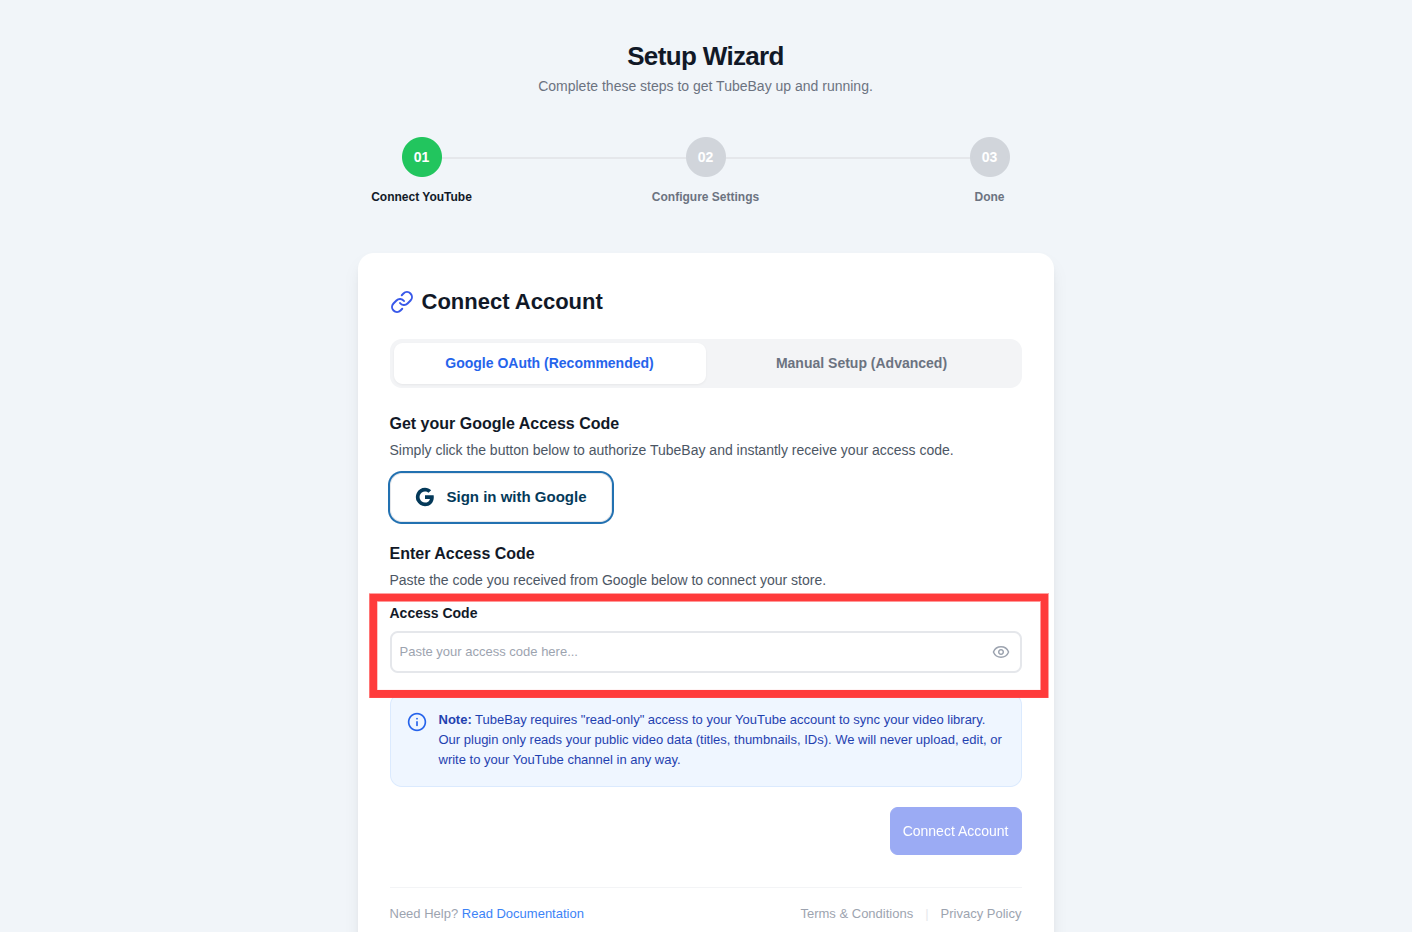
- Click Connect Account.
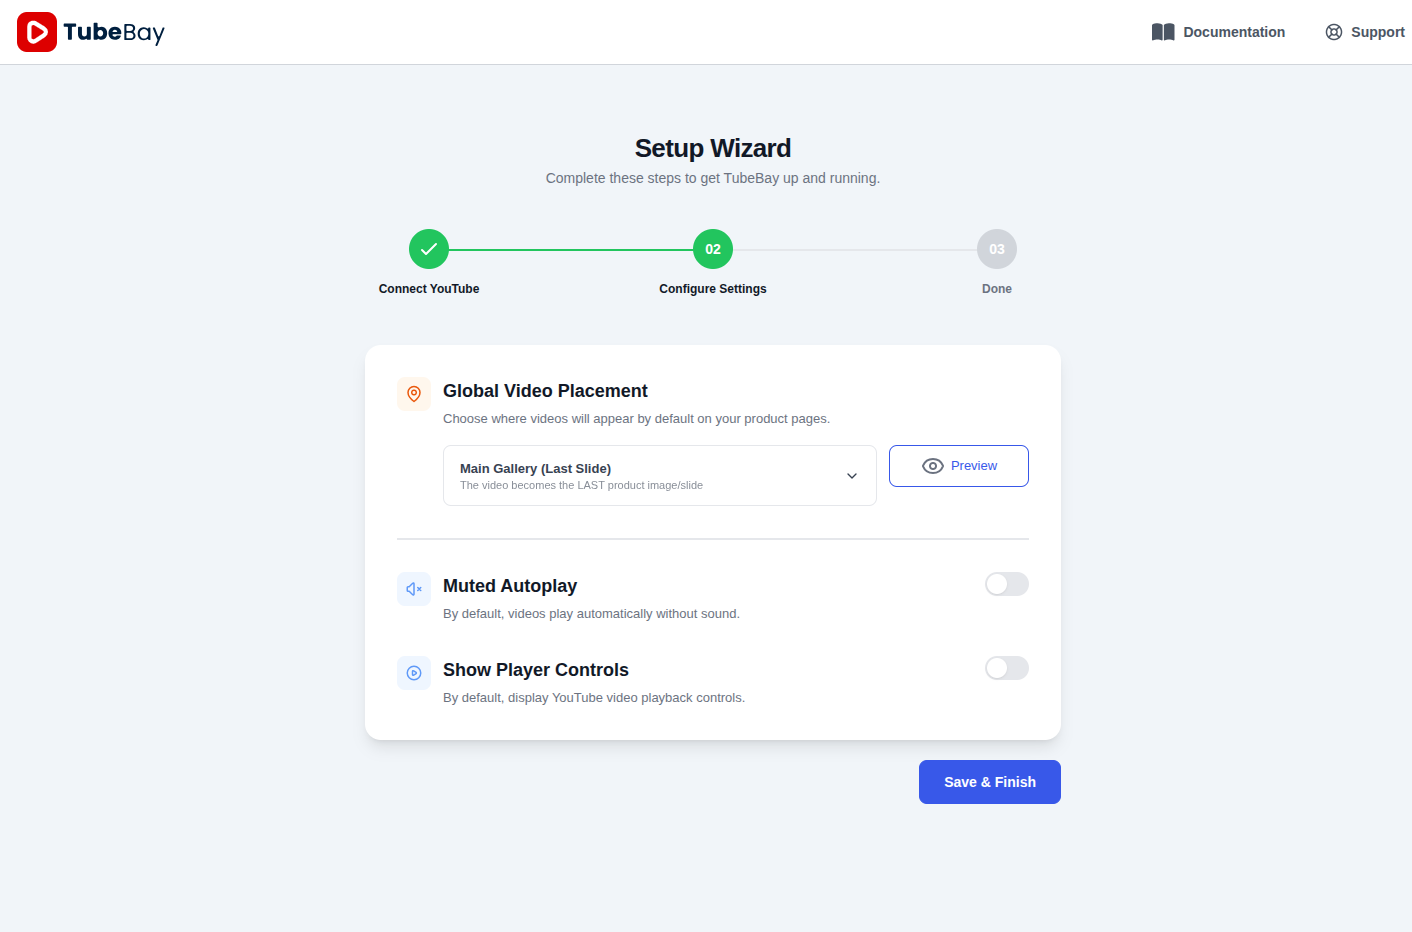
Step 2: Configure Settings
Once connected, you can set your global video preferences. These settings will apply to all mapped videos unless overridden individually:
Global Video Placement: Choose where videos should appear by default on your product pages (e.g., "Main Gallery"). Click Preview to see how it looks.
Muted Autoplay: Toggle whether videos should play automatically without sound when the page loads.
Show Player Controls: Choose whether to display the standard YouTube playback controls.
Click Save & Finish to complete the wizard.
Step 3: Done!
Congratulations! Your account is connected and your global settings are configured. You are now ready to start syncing and mapping videos.
4. Sync Your Library
After connecting, TubeBay will automatically fetch your video library. You can monitor the progress on the dashboard.
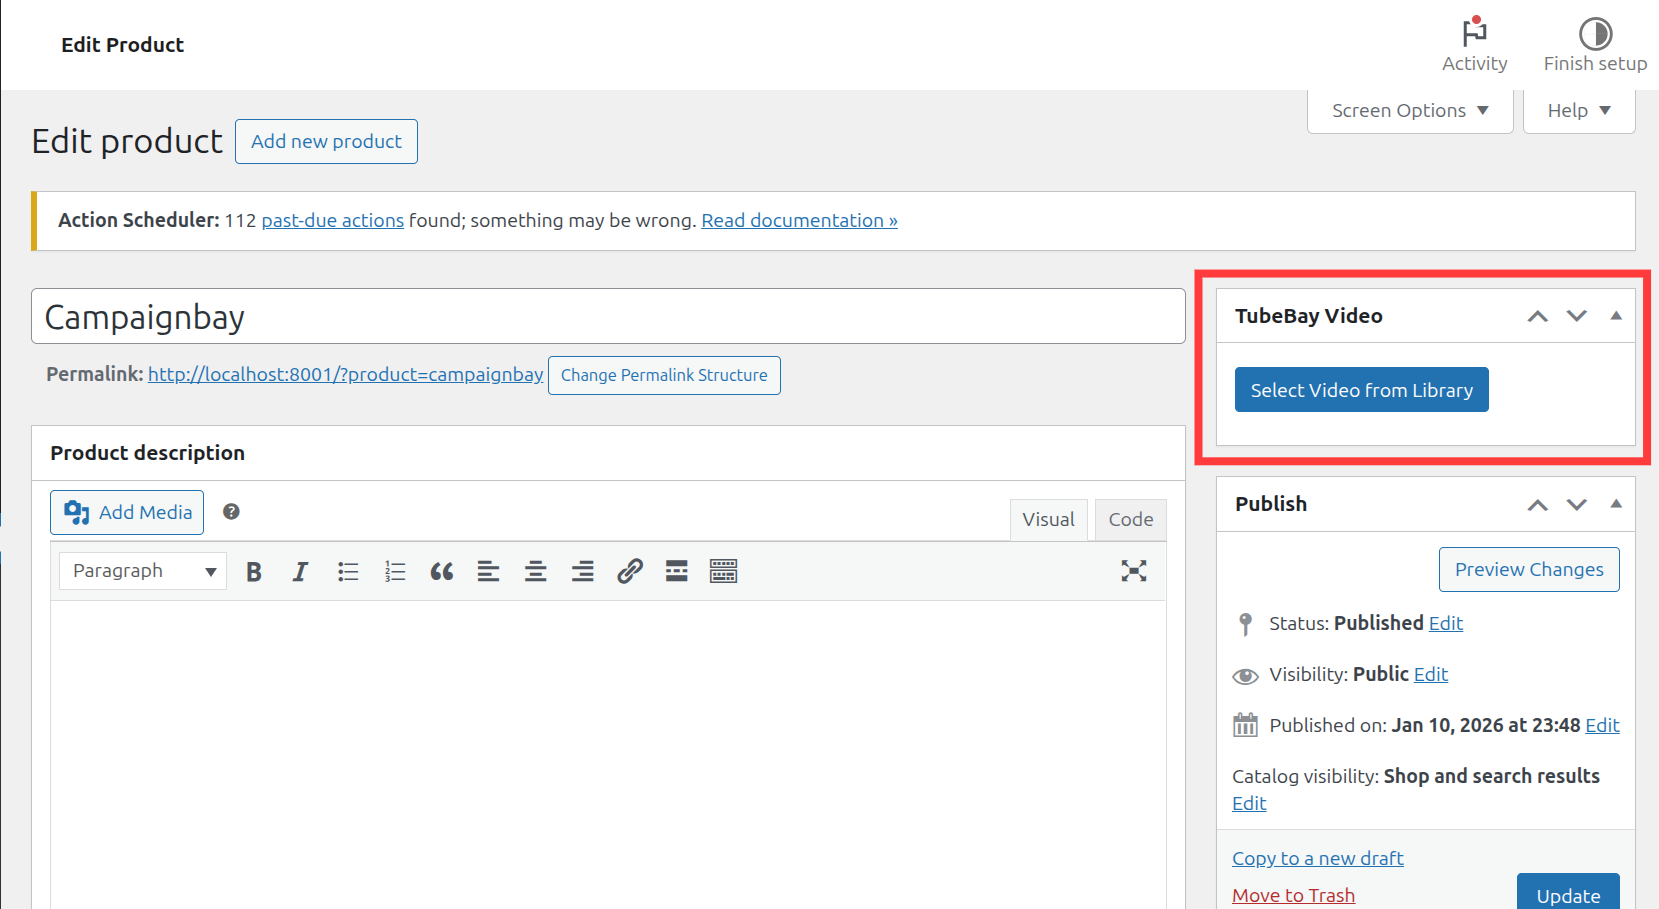
5. Map Videos to Products
Now the fun part! Go to Products > All Products and edit a product. In the sidebar, you'll find the TubeBay Video box where you can select a video from your library.
6. Configure the Video Player
Before viewing the video on the frontend, check how it should behave:
- Navigate to TubeBay > Settings.
- Go to the Video Player tab.
- Set your preferred Placement (e.g., "Below Product Gallery").
- Toggle options like Muted Autoplay or Hide Controls.
- Click Save Settings.
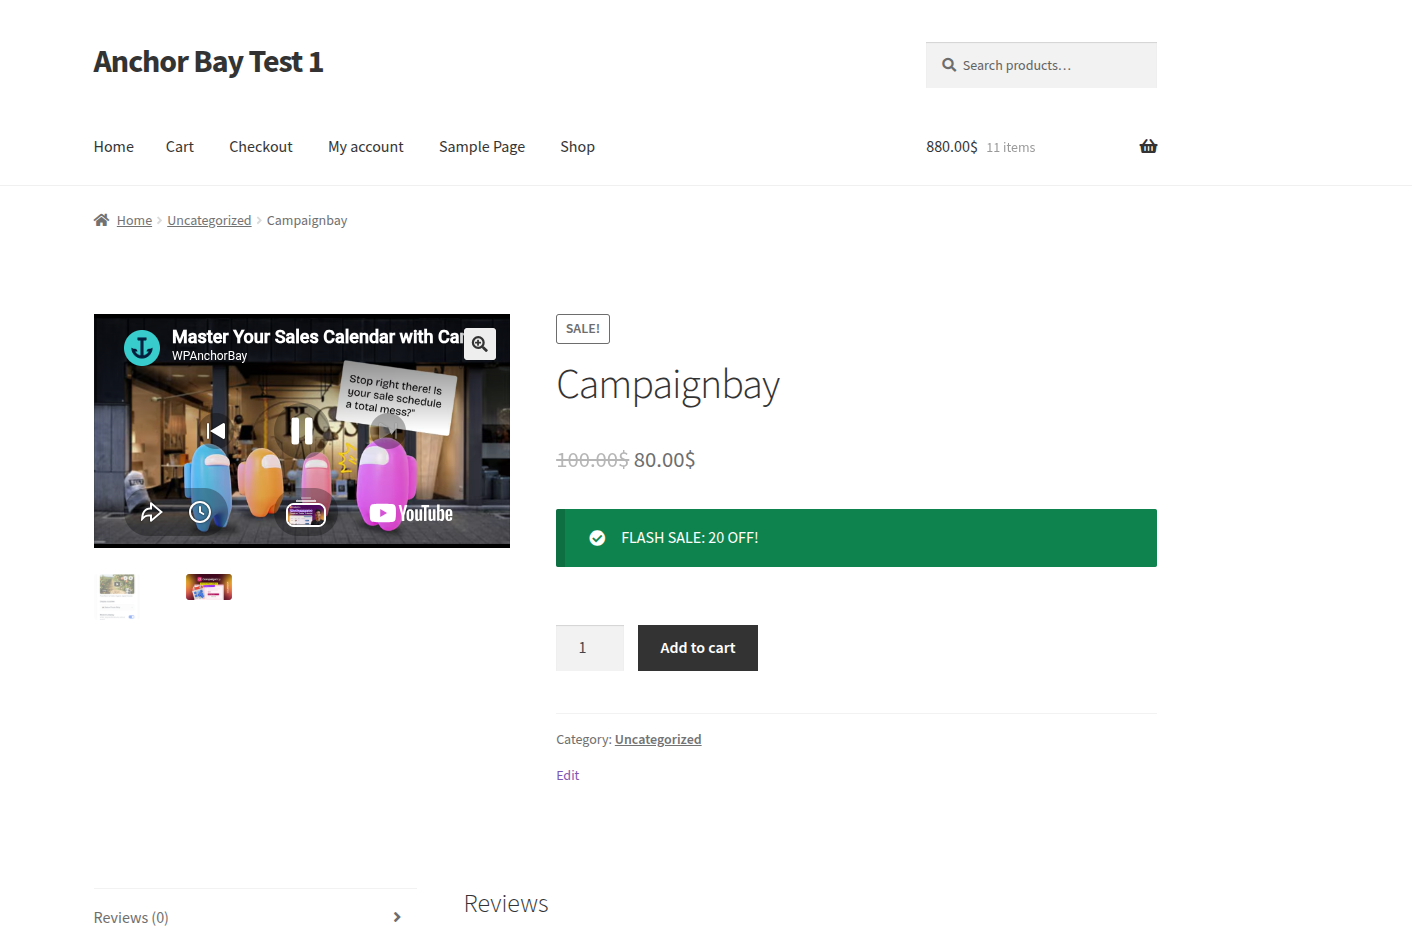
7. Showcase on Your Site
Visit the product page you just mapped a video to. You should see the TubeBay player embedded in your chosen location! You can also use Shortcodes to place videos anywhere else on your site!
What's Next?
- Learn more about Connection Methods.
- Optimize your Sync Schedule.
- Explore Shortcodes for custom video placement.