Installation
CartBay is distributed as a private premium plugin from WPAnchorBay. Install it like a normal WordPress plugin ZIP, then activate it from the WordPress admin.
Before You Install
Section titled “Before You Install”Confirm the store meets the Requirements, especially WooCommerce, PHP, checkout, and email delivery requirements.
Install from WordPress Admin
Section titled “Install from WordPress Admin”Get the CartBay plugin ZIP (cartbay.zip) file from WPAnchorBay site, or from your purchase email or the marketplace you purchased from. Then follow these steps:
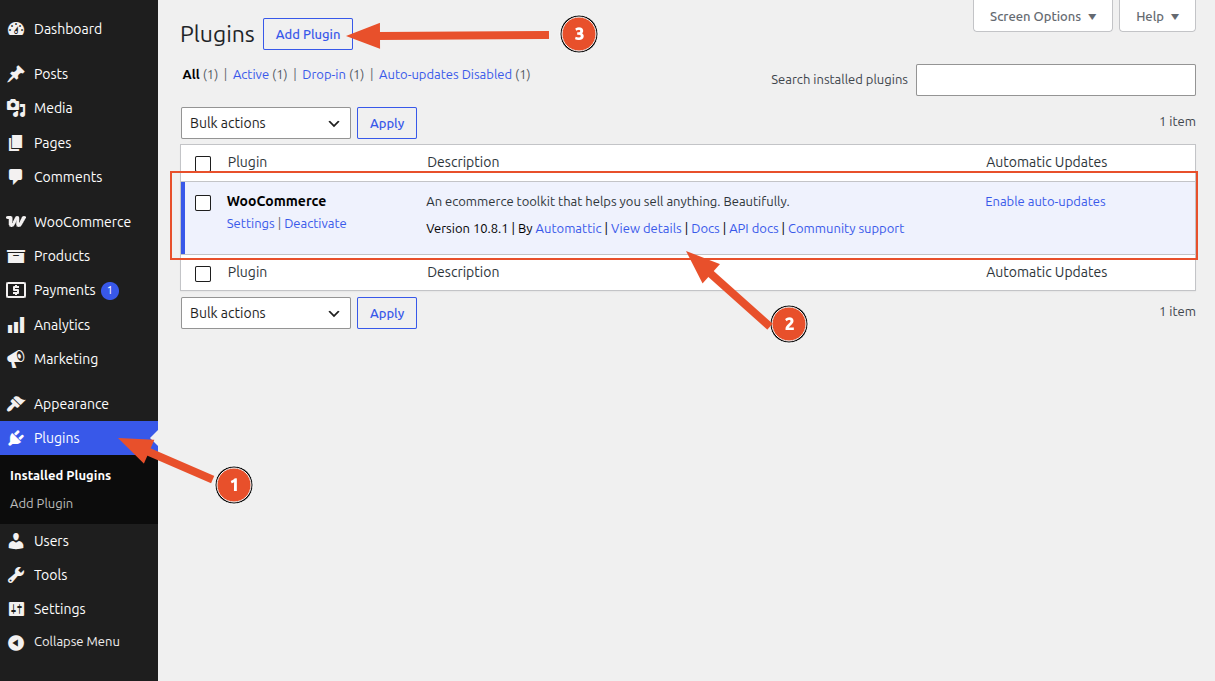
- In WordPress admin, go to Plugins.
- Make sure you have already installed WooCommerce and activated it.
- Click Add New.
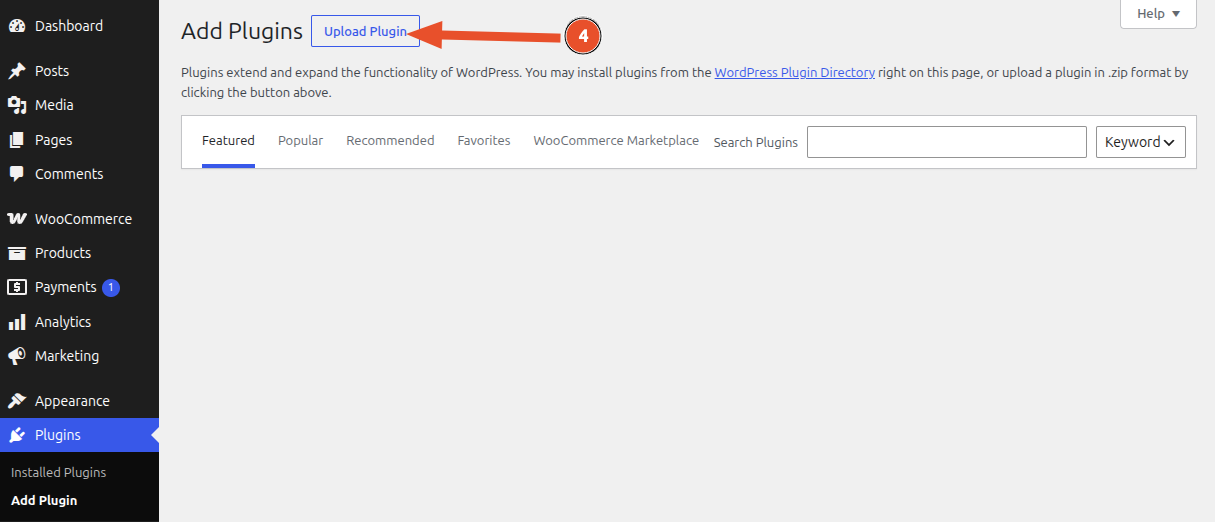
- Click Upload Plugin.
-
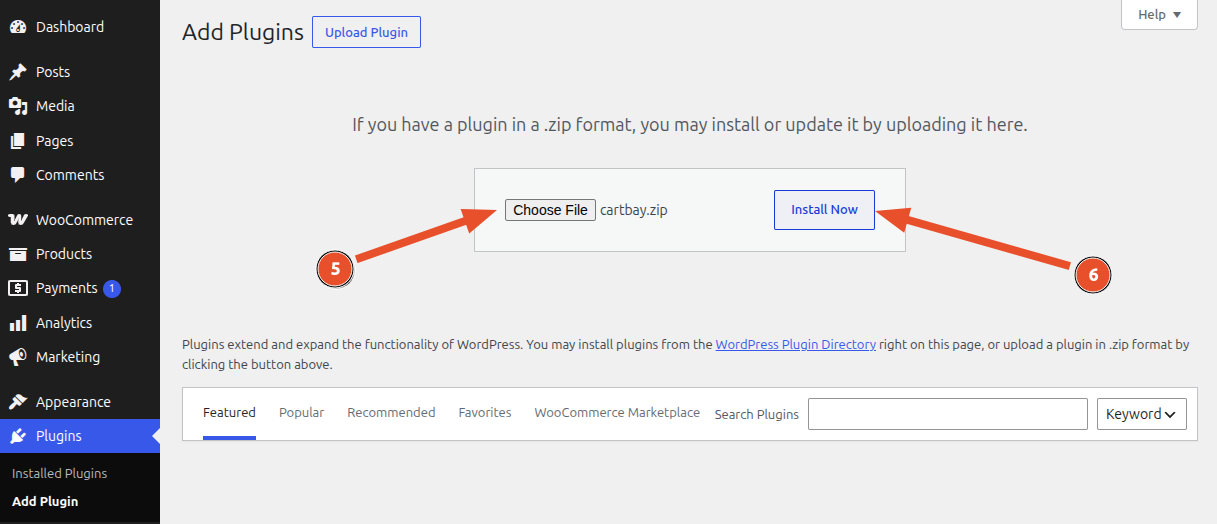
Choose the CartBay ZIP (
cartbay.zip) file. -
Click Install Now.

- Click Activate Plugin.
After Activation
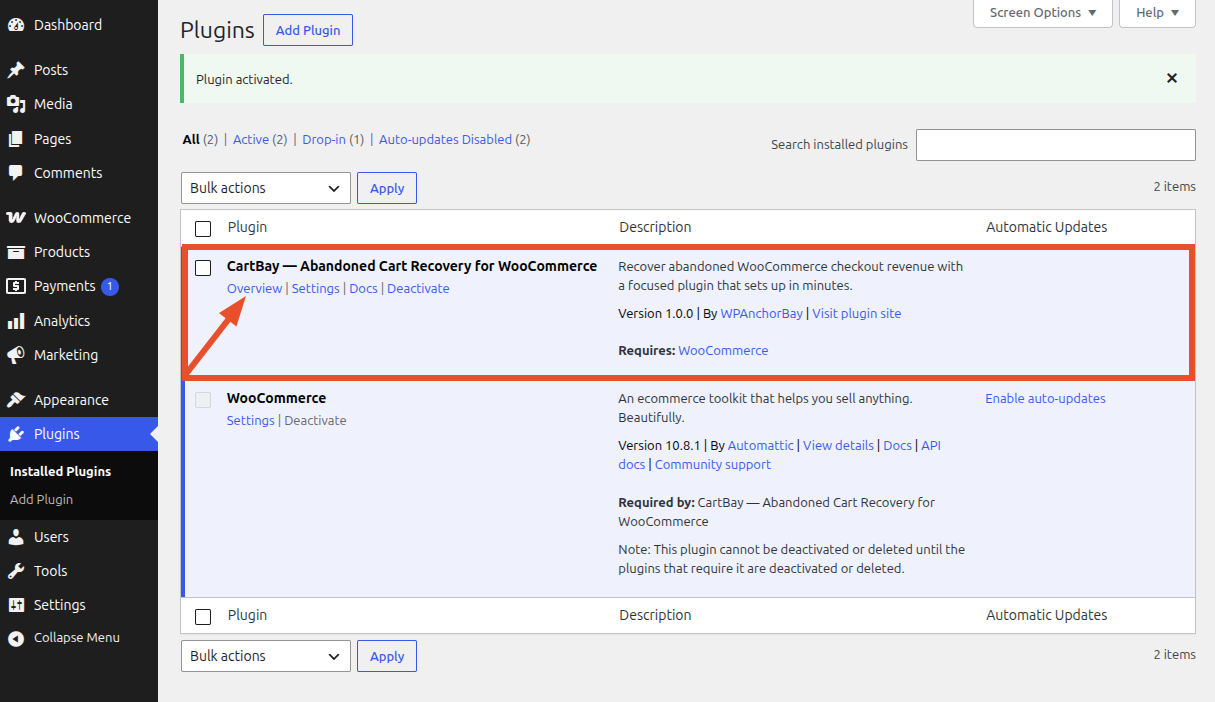
Section titled “After Activation”After plugin activation, CartBay creates its default options, registers recovery session statuses, seeds default recovery email content, and schedules recurring Action Scheduler jobs.
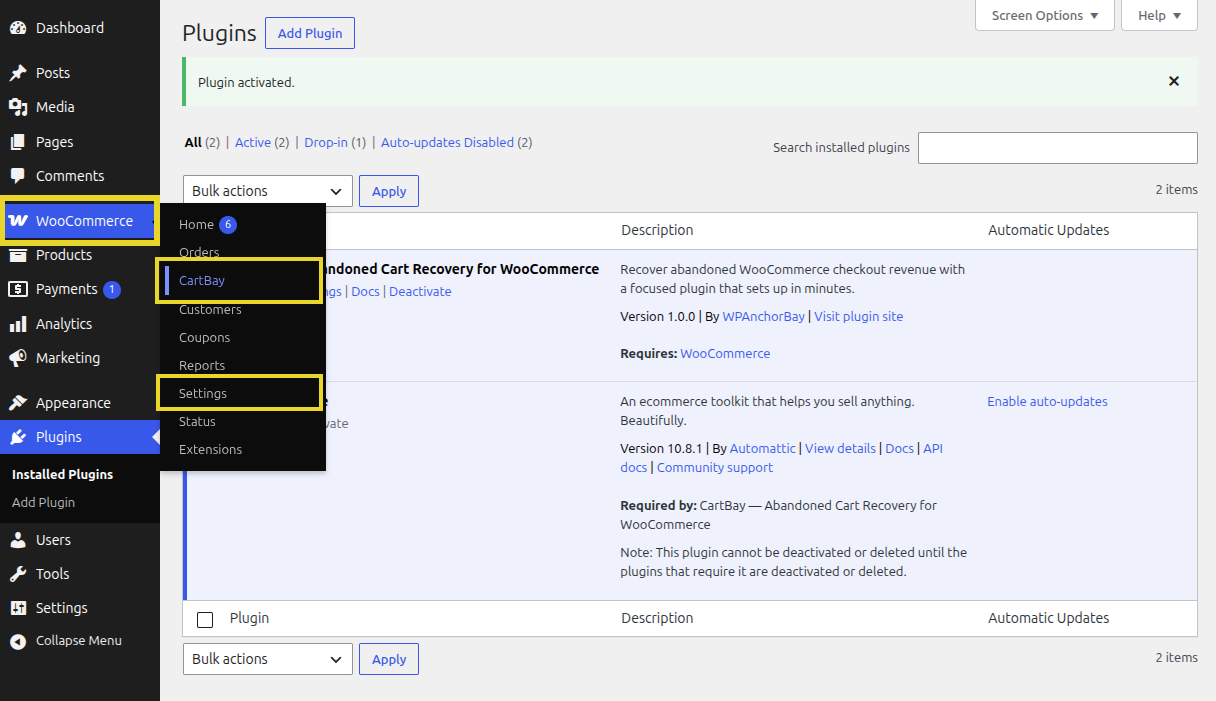
You can go to the CartBay dashboard by clicking on the Overview link on the CartBay row of the plugins list.
CartBay appears in:
There are several ways to access CartBay:
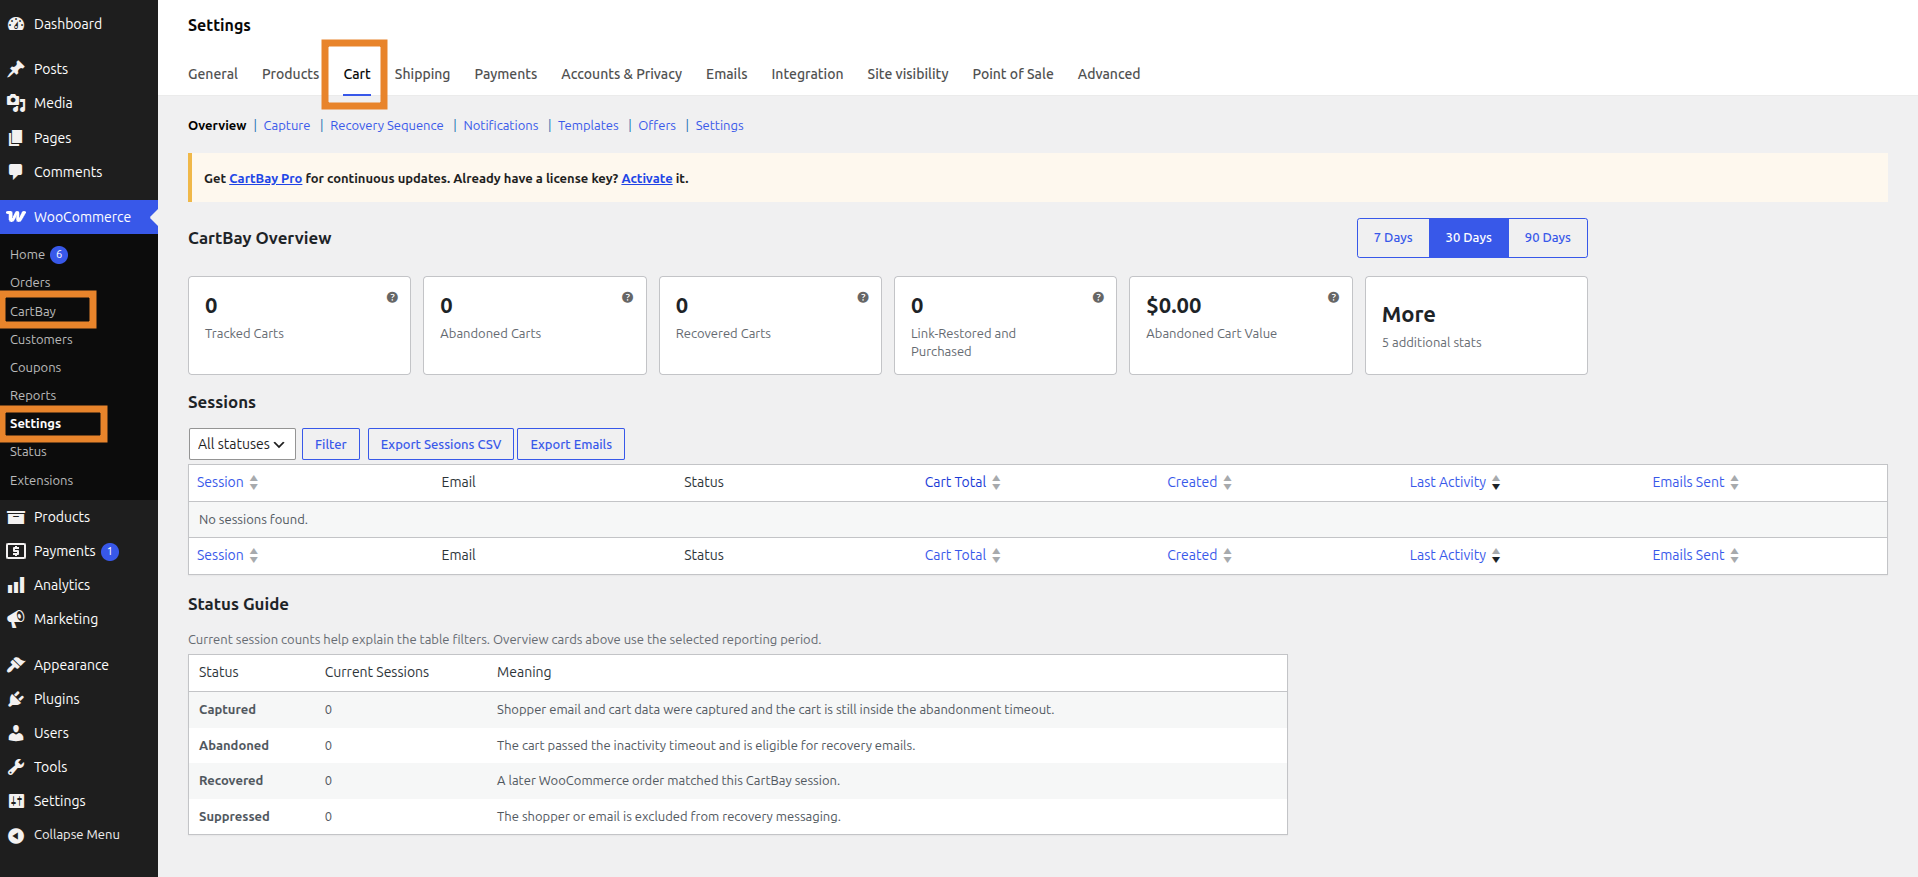
- WordPress Admin Settings:
WooCommerce > Settings > Cart - WordPress Admin Direct:
WooCommerce > CartBay - From Plugins Page:
Plugins > CartBay > Overview
Verify Installation:
- Confirm
WooCommerce > CartBayand/orWooCommerce > Settings > Cartopens. - Confirm the CartBay settings tab appears under
WooCommerce > Settings > Cart. - Confirm no WooCommerce-missing notice appears.
- Continue to Setup Wizard.
Updating CartBay
Section titled “Updating CartBay”CartBay uses a private updater connected to the WPAnchorBay license server. Activate a valid license key to receive continuous updates.